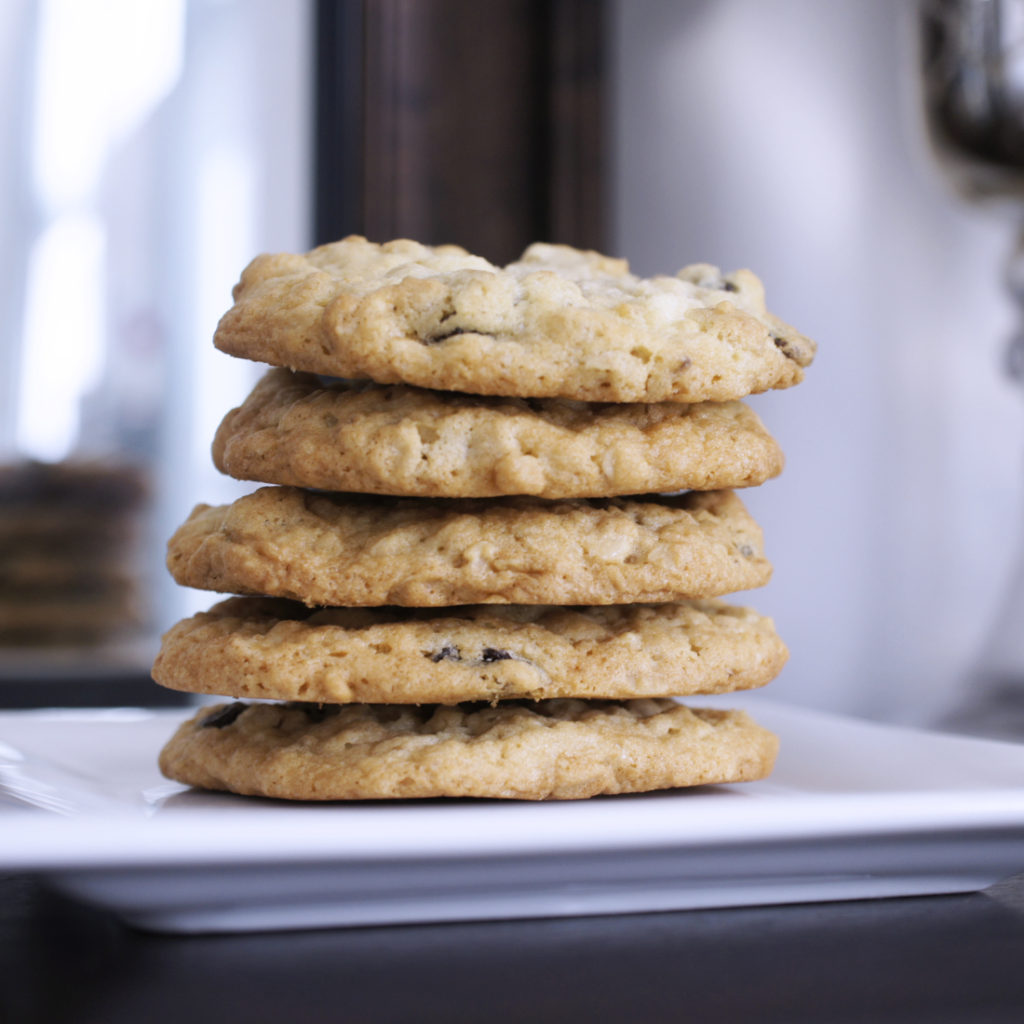
Adapting from a favorite chocolate chip cookie with what I had on hand, I created these yummy white chocolate chip raisin cookies. Keep reading to grab the recipe!
Sometimes you have to thank your neighbor for their act of kindness with only the items in your pantry. This happened to us a few weeks ago… and I’m not mad. While I’m not a huge fan of white chocolate or raisins in my cookies but let me tell you, these work! Just the right amount of sweetness!
I know I’ve been talking a big game on my stories lately about my nutrition. These cookies are a treat, a something to have once in awhile. Even if I’m eating appropriate portions it doesn’t mean I’m never going to have a cookie with sugar in it again! Am I going to sit down to eat half a dozen of these? No- I’m not. (Believe me, I want to- cookies are my kryptonite) That’s too much sugar in my body and completely unnecessary.
I have started to take note how my body feels after I over indulge.. Not only will I feel yucky the next day but my face will probably break out and my body will be out of wack.
For me, it is really not worth it to have what I call a food hangover later that day or the next morning. I try to remind myself when I can’t resist the sweets but I also know the importance of allowing ourselves to have a cookie. Life is all about balance.
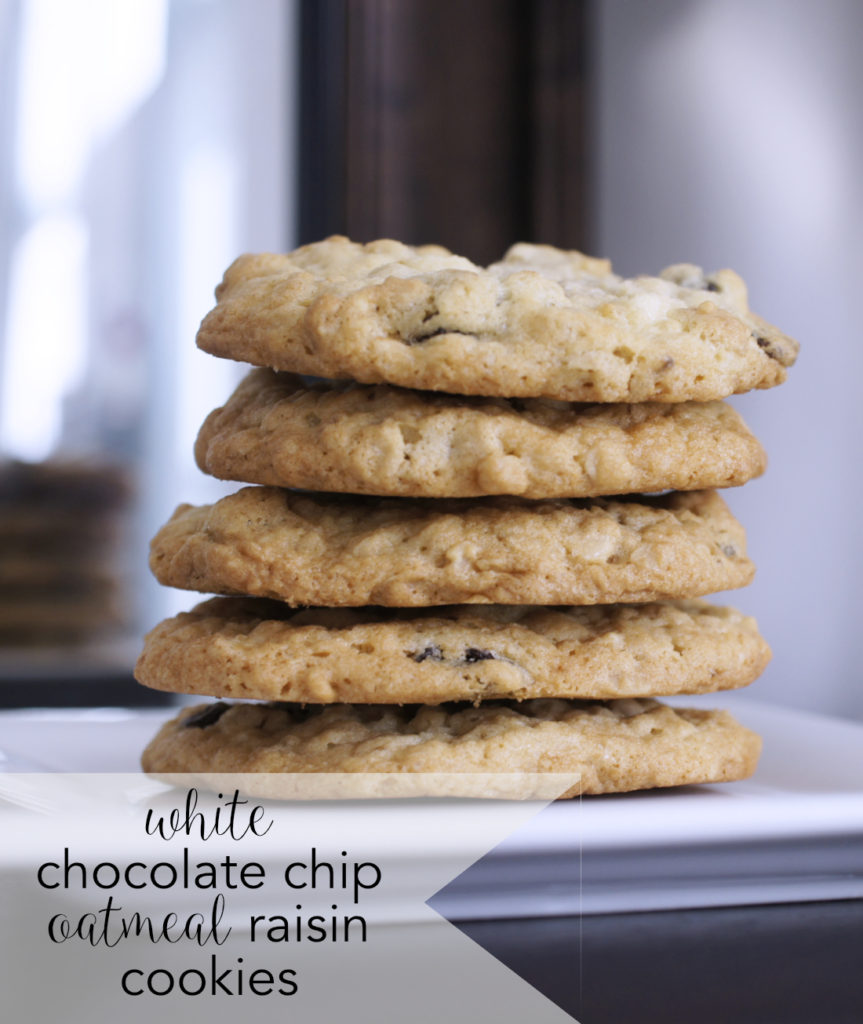

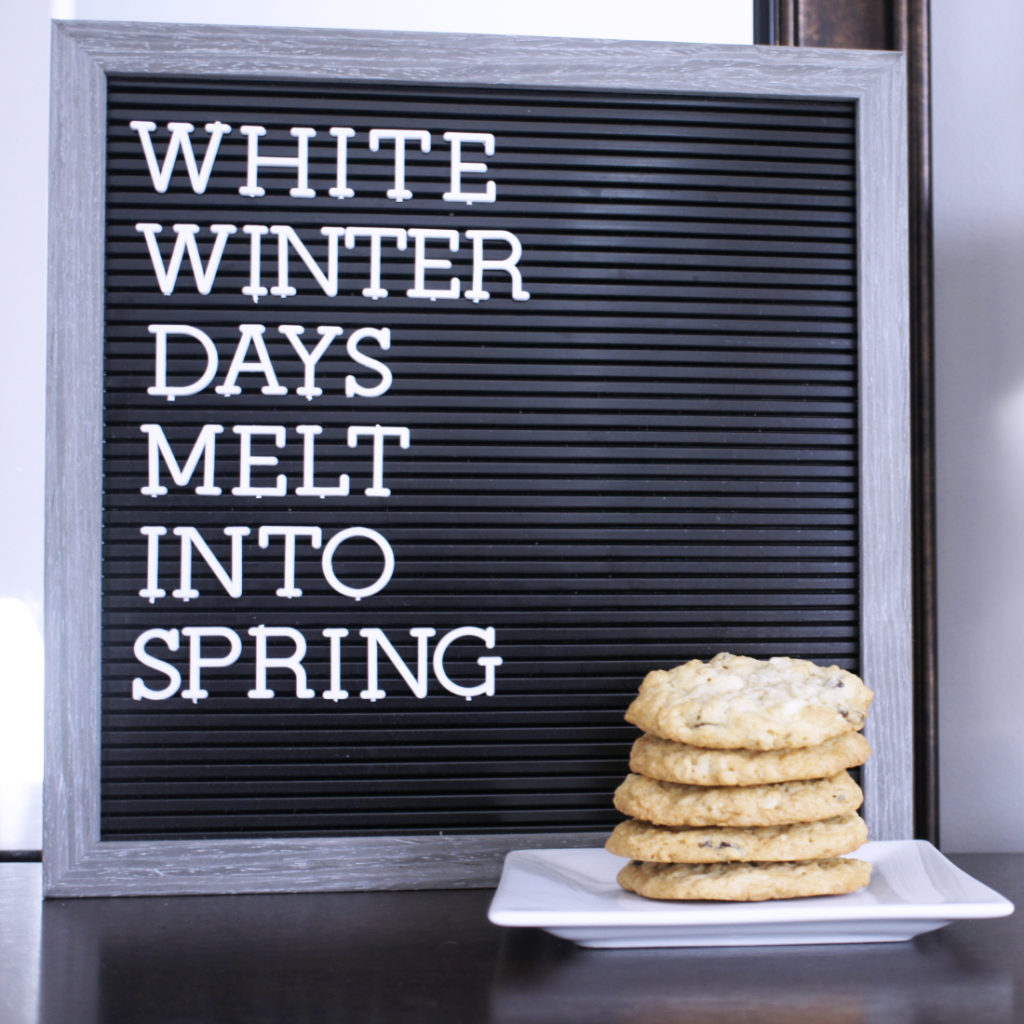
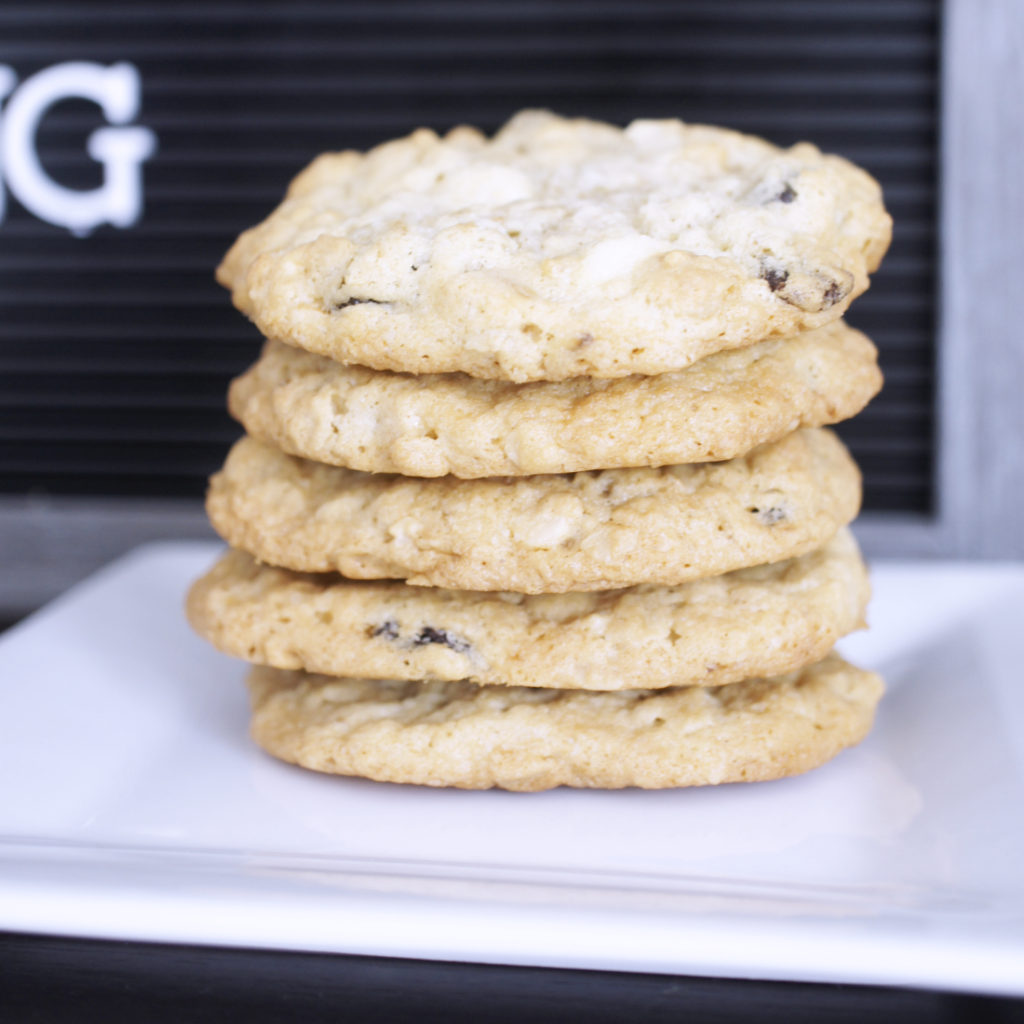
White Chocolate Chip Raisin Cookies
Ingredients
- 2 cups rolled oats
- 1 1/2 cups flour
- 1 1/2 tsp baking soda
- 1 tsp salt
- 1/2 cup raisins
- 3/4 cup white chocolate chips
- 2 sticks butter
- 1 cup sugar
- 2 eggs
- 2 tsp vanilla extract
Instructions
-
Preheat oven to 350 and line a baking sheet with parchment paper
-
In a large bowl mix rolled oats, flour, salt, and baking soda.
-
In a seperate bowl mix sugar, butter, vanilla, and eggs until blended.
-
Add wet ingredients to bowl of dry. Mix well. Batter will be thick.
-
Fold in white chocolate chips and raisins.
-
Roll dough into 1.5″ balls and place an inch apart. Flatten slightly.
-
Bake for 10 to 12 minutes or until golden.
-
Transfer immediately from pan to cooling rack.
Recipe Notes
This recipe is meant to be made without a stand mixer. The last time I made them I used my Kitchenaid mixer. The only difference was I added the dry ingredients into the wet bowl since it was already attached to the stand.

These were so tasty they also received the kid and dad stamp of approval!